Contents
Start Here — How to Use This Guide · Why Bracing Alone Fails
Part 1 · Understand — 1. What Rib Flare Really Is · 2. The Zone of Apposition
Part 2 · The Science — 3. What the Evidence Shows · 4. Where the Brace Fits
Part 3 · The Framework — 5. The Rib Flare Pyramid
Part 4 · Do It — 6. The Breathing Reset · 7. Core & Position Work · 8. Using the Brace Right · 9. Tracking & Timelines · 10. Troubleshooting
Reference — 11. FAQ · 12. References
How to Use This Guide
I'll be straight with you in a way most rib-flare content isn't: the controlled-trial evidence here is thin. So this guide is built on solid biomechanics, clinical consensus, and what reliably works in practice - and I flag clearly what's proven versus well-reasoned. That honesty is exactly why it'll serve you better than the confident nonsense online.
The core idea reframes everything: rib flare is mostly a positioning and breathing problem, not a bone problem. The lower ribs flare out and up when the diaphragm and abdominal wall stop holding the rib cage in its proper "stacked" position - a pattern that's directly tied to a reduced diaphragm zone of apposition.1 Patterns can be retrained. A brace can assist, but treat it as the whole solution and you'll be disappointed.
Like all my guides, this is a hierarchy of importance - and for rib flare the order surprises people: breathing first, core second, posture third, and the brace fourth, as support, not the star.
There are essentially no controlled trials of conservative rib-flare correction. What exists: respiratory/rehab biomechanics, expert chest-wall consensus,7 a case-level breathing approach tying flare to the zone of apposition,1 and a reliable way to measure flare.5 Where I reason from mechanism rather than a trial, I say so. The rest of the rib-flare literature is mostly surgical - about flare that appears after pectus operations.2,3
Why Bracing Alone Fails
People buy a rib-flare brace expecting it to work like a carinatum brace - strap the ribs in, wait, done. It doesn't, and here's why: a protruding carinatum chest is held out by stiff cartilage that responds to sustained compression. A flared rib cage is held open by how you breathe and brace your trunk - by muscle tone and position, not fixed cartilage.1
Compress flared ribs without changing the breathing pattern that flares them, and the moment the brace comes off they drift back. You can't out-strap a movement pattern. (Tellingly, the one device patent for "nonsurgical correction" still pairs rib pressure with sternal traction and remains an unvalidated concept - no clinical evidence.8) The brace is useful as a tactile cue and light support while you retrain - but the correction lives in the breathing and the core.
- Permanently flatten flare without retraining breathing1
- Replace diaphragm and deep-core control
- Fix flare driven by posture and rib position
- Work if you only wear it and change nothing else
- Restores the diaphragm position that pulls ribs down1
- Retrains exhalation so the cage stops flaring open
- Builds the deep core that stacks the rib cage
- Uses the brace as a cue to reinforce the new pattern
What Rib Flare Really Is
Rib flare is when the lower front ribs jut outward and upward instead of sitting flat and down. It often shows most lying down or reaching overhead. It can be purely positional (the common, very trainable case), a cosmetic cartilage prominence (sometimes called "winged ribs"),6 part of a structural pectus deformity, or a consequence of chest surgery.2,3 It's also a real, measurable feature - researchers have validated a reliable "rib flare distance" metric.5
The everyday driver is a rib cage tipped into extension - flared open and rotated up at the front - usually paired with an anterior pelvic tilt and over-reliance on the upper chest to breathe. In that position the diaphragm and deep abdominal wall can't pull the ribs down where they belong, so the flare becomes the resting default.1
Most rib flare is positional and trainable. But flare is also documented as part of a chest-wall deformity and as a recognized complication after pectus excavatum surgery, where the costal arch lifts with the sternum.2,3 If yours is dramatic, painful, markedly asymmetric, post-surgical, or came with other skeletal findings, get assessed - this guide assumes the common, positional kind.
The Zone of Apposition - The Key Concept
This is the idea that makes rib flare suddenly make sense. The Zone of Apposition (ZOA) is the region where the diaphragm runs vertically along the inside of your lower rib cage - the diaphragm "gripping" the lower ribs from inside.
When you sit stacked - rib cage over pelvis - the diaphragm has a large ZOA, and as it contracts it pulls the lower ribs down and in while your deep abdominals work with it. When the rib cage is flared and tipped back, the ZOA shrinks; now the diaphragm pulls the ribs up and out and the abs can't counter it. The flare reinforces itself with every breath. A published rehabilitation approach makes this link explicit, describing rib flare alongside a decreased respiratory diaphragm zone of apposition and using breathing/positional drills to restore it.1
What the Evidence Shows
Here's the honest scorecard. Rib flare doesn't have the trials the vacuum bell and carinatum brace have. What we do have is solid and points one direction:
- The mechanism is established. A reduced diaphragm zone of apposition is tied to rib flare, and breathing/positional retraining is used to restore it.1 This is core respiratory physiology, not guesswork.
- Flare is a recognized, measurable entity - including after pectus excavatum surgery, where "the costal arch is often elevated together with the sternum... commonly called rib flaring,"2 and it can be quantified with a validated radiographic metric.5
- Consensus favors conservative-first care for chest-wall presentations, reserving more invasive options for the minority.7
- The surgical literature confirms it's correctable - costal-cartilage and compression-suture techniques flatten flare in operative cases3,4 - which tells us the cage can change shape; we're simply doing it non-surgically through position.
There is no study that says "wear this brace X hours and your flare drops Y%." Anyone quoting one is inventing it. What we can say: the mechanism of positional flare is breathing and trunk control,1 so that's where the highest-leverage work is - and that's where this protocol spends its energy. The brace is a helpful adjunct, not the evidence-backed centerpiece.
Where the Brace Fits
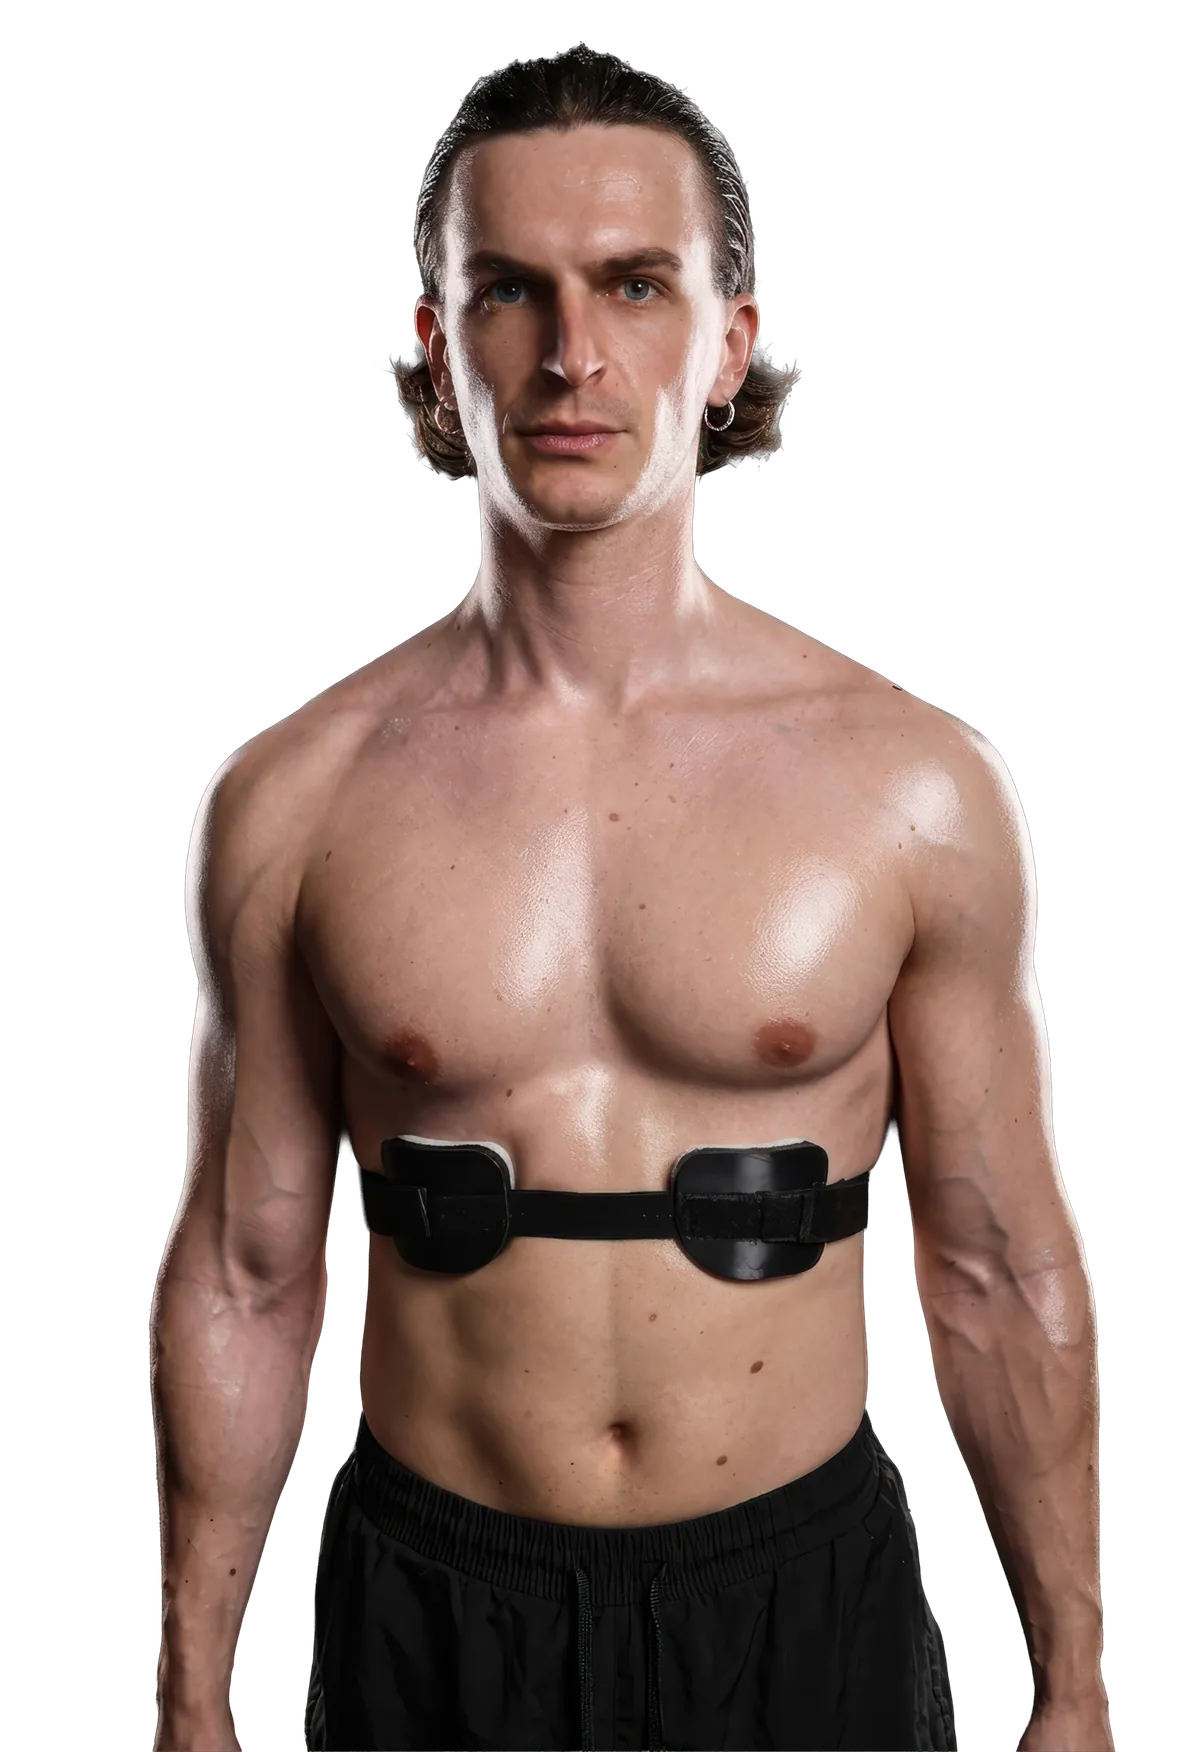
So is a brace worth it? Yes - in the right role. Think of it like a lifter's belt or a physio's tape: a tactile cue and light support that helps you hold the new position while the real adaptation (breathing, core) takes hold.
- As a cue. Light compression over the lower ribs reminds you all day to keep the ribs down and not flare them on the inhale - accelerating the motor learning.
- As support during loading. Some people use it during specific activities to discourage the flare pattern while they rebuild control.
- Not as a standalone fix. Worn without the breathing and core work, it manages the look while it's on and changes little once it's off1 - the same reason the rib-pressure device concept still pairs compression with sternal traction and lacks clinical validation.8
Use the brace to feel the position you're training, not to force it. The day your diaphragm and core hold that position on their own is the day you stop needing the brace. That's the goal - to make it redundant.
The Rib Flare Pyramid
This is where rib flare differs most from the other two conditions. The brace is not at the base - breathing is. Get the order right and the flare resolves; flip it (brace-first) and you'll spin your wheels.
Level 1 - Breathing. A full exhale that restores the zone of apposition is the highest-leverage thing you can do - it directly changes how the diaphragm pulls the lower ribs.1
Level 2 - Deep core. The deep abdominals (a 360° brace, not a crunch) hold the rib cage stacked over the pelvis so it can't tip into flare.
Level 3 - Posture. Carrying that stacked position through your day makes it the new default instead of a ten-minute drill.
Level 4 - The brace. A cue and light support reinforcing Levels 1-3. Useful, but it earns its place only on top of them.
Level 5 - Load management. Stop actively feeding the flare - big overhead arches, end-range back extension, breath-holding under heavy load - while you retrain.
The Breathing Reset
This is Level 1 - the part that actually changes the flare. The aim is a full exhale that pulls the lower ribs down and rebuilds the zone of apposition.1 Do it daily; it's the cornerstone.
The 90/90 breathing drill
- Set up. Lie on your back, feet on a wall or chair, hips and knees at 90°. Tuck the pelvis slightly so your low back gently flattens toward the floor - this pre-positions the ribs down.
- Inhale through the nose (~4s) into the back and sides of the lower ribs - not up into the chest or out into the flare.
- Exhale fully through pursed lips (~6-8s) until you feel the lower front ribs draw down and your abs gently engage. That end-of-exhale position is the one you're training.
- Pause 2-3s holding ribs down, then repeat. 5 breaths × 3-4 rounds, daily.
The magic is in the full exhale, not the inhale. Most people with flare are chronically "stuck" in inhalation - chest up, ribs flared. Learning to fully empty your lungs and feel the ribs settle down is most of the fix. Chase the bottom of the breath.
Core & Position Work
Level 2. Once you can find ribs-down on an exhale, build the deep core that holds it there without thinking.
- Connected exhale + dead bug. From 90/90, exhale to set ribs down, then slowly lower an opposite arm and leg without letting the ribs flare or the back arch. Stop at the point you'd lose ribs-down.
- Heel slides / wall press. Keep the ribs-down, abs-on position while a limb moves - teaches the core to stabilize the cage against motion.
- Side-lying & tall-kneeling breathing. Progress the same ribs-down breathing into more upright positions, closer to standing life.
The theme across all of them: keep the rib cage stacked over the pelvis and never let a movement pull you back into the flare. Quality over reps - a few controlled breaths in perfect position beat fifty sloppy ones.
Using the Brace Right
Level 4. Now - and only now - the brace earns its place, layered on top of the breathing and core work as a cue and light support.
- Fit it over the lower ribs with light, even compression - enough to feel a gentle reminder when you start to flare, not so tight it restricts a full breath.
- Wear it during practice and daily life, not as a replacement for the drills. Use the sensation to cue ribs-down all day.
- Breathe against it. Practice your exhale while wearing it - feel the ribs draw away from the brace as you empty out. That's the pattern becoming automatic.
- Wean as control improves. As your diaphragm and core hold the position on their own, you need it less. Fading it out is success, not failure.
A rib-flare brace should never stop you taking a full breath or cause pain, numbness or skin breakdown. It's a cue, not a corset. If it's tight enough that you breathe shallowly to tolerate it, it's too tight - and shallow breathing is the exact opposite of what fixes flare.
Tracking & Timelines
Because flare is positional, capture your "before and after" the same way every time or you'll fool yourself with posture. Flare is genuinely measurable - clinicians have validated a reliable rib-flare distance metric5 - and your at-home version is consistent photos plus a breathing self-check.
- Photos. Same position (lying down often shows flare best, plus standing relaxed), same angle and light, monthly.
- The exhale test. Can you fully exhale and feel the lower ribs settle down? Track how easily and automatically you find that position - it should improve.
- Daily practice log. Breathing rounds and drills done - your Level 1-2 dashboard.
| Timeframe | What to expect |
|---|---|
| Weeks 1-2 | You learn to find ribs-down on a full exhale. Flare still returns at rest. |
| Weeks 3-6 | Ribs-down gets easier; the brace cue feels natural; flare reduces in trained positions. |
| Months 2-3 | The stacked position starts holding through daily life without conscious effort. |
| Months 3-6+ | For positional flare, the resting default becomes far less flared. Structural/post-surgical flare improves less - be honest about which you have.2,3 |
Positional flare can improve a lot. Flare that's part of a bony deformity or followed surgery responds less to retraining - you may improve control and appearance without fully erasing the contour, and operative options exist for those cases.3,4 Knowing which you have keeps expectations - and motivation - realistic.
Troubleshooting
| Problem | Fix |
|---|---|
| Flare returns the moment the brace comes off | Expected early. The brace isn't the fix - double down on the exhale and core work (Levels 1-2).1 |
| Can't feel the lower ribs move down | Exhale longer and fuller; use the 90/90 setup; don't force the inhale. |
| Low back arches during drills | Tuck the pelvis slightly, regress the drill, stop before you lose ribs-down. |
| Brace feels restrictive | Too tight. Loosen until you can fully exhale against it. |
| Pain, asymmetry, or no change over months | Get assessed - it may be structural or post-surgical rather than positional.2,3 |
FAQ
Will a brace alone fix my rib flare?+
What's the single most important thing?+
How long until I see change?+
Is my flare positional or structural?+
How tight should the brace be?+
Why is the evidence weaker here?+
References
- Boyle (2013). Clinical application of the right side-lying respiratory left adductor pull-back exercise. Links rib flare to a decreased respiratory diaphragm zone of apposition; breathing/positional retraining to restore it. Case-level evidence; author notes it "warrants future research."
- Nagasao et al. (2023). Separation of the seventh costal-sternal junction to improve outcomes of the Nuss procedure. "The costal arch is often elevated together with the sternum... commonly called rib flaring"; technique reduced costal-arch elevation from 10.2 mm to −1.1 mm.
- Bosgraaf & Aronson (2010). Treatment of costal-arch flaring after minimally invasive pectus excavatum repair (n=5). Costal-arch flaring can be part of the PE deformity and worsen after Nuss; subperichondral cartilage resection gave good-to-excellent results.
- DiFiore et al. (2026). Parks bridging-bar pectus procedure (n=72). Rib flare corrected with costal compression sutures (mean 2.7 per patient) - confirms the flared cage is reshapeable.
- Wright et al. (2025). Rib flare distance: a reliable radiographic metric of rib-cage deformity. Validates rib flare as a measurable, reliable metric (developed in adolescent idiopathic scoliosis).
- Andrades et al. (2019). "Winged ribs": lower costal-cartilage prominence. Describes a visible/palpable lower-rib cartilage prominence as a recognized cosmetic entity.
- Dunning et al. (2024). The pectus care guidelines: best-practice consensus from the joint specialist societies. Most chest-wall defects are mild and well-tolerated; supportive/conservative care is first-line for the majority.
- Castro (patent). Method and apparatus for nonsurgical correction of chest-wall deformities. Proposes positive pressure on flared ribs combined with sternal traction - an unvalidated device concept with no clinical efficacy data.
Rib flare has a far thinner trial base than the vacuum bell or carinatum brace, and most published work is surgical. This guide is built on biomechanics, a validated measurement, clinical consensus and applied experience, and flags where reasoning is mechanistic rather than trial-proven. Education only - not a substitute for personalized medical care.
Waists that changed with breathing and core work
Coached one on one since 2015, with the timelines and the numbers they actually logged.
“Had rib flare since i was a teen. the brace plus the breathing drills changed everything. my waist looks normal in a fitted shirt for the first time in my adult life”
“the breathing protocol alone changed how i feel day to day. didnt realise how shallow i was breathing until i fixed it. the rib flare correction kind of followed on its own”